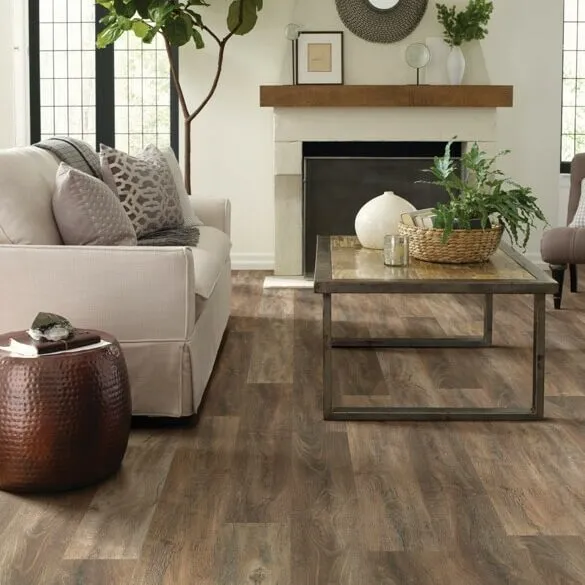
You're a step away from beautiful new floors!
It's finally happening. You've chosen the perfect style and design for your space. Now comes the time to discuss installation—and here's where the expert installers at Wacky's Flooring & Lighting come in.
While our team will handle the hard part, a little preparation on your end doesn't hurt. In fact, it'll make the installation that much more efficient.
Steps to prepare for installation
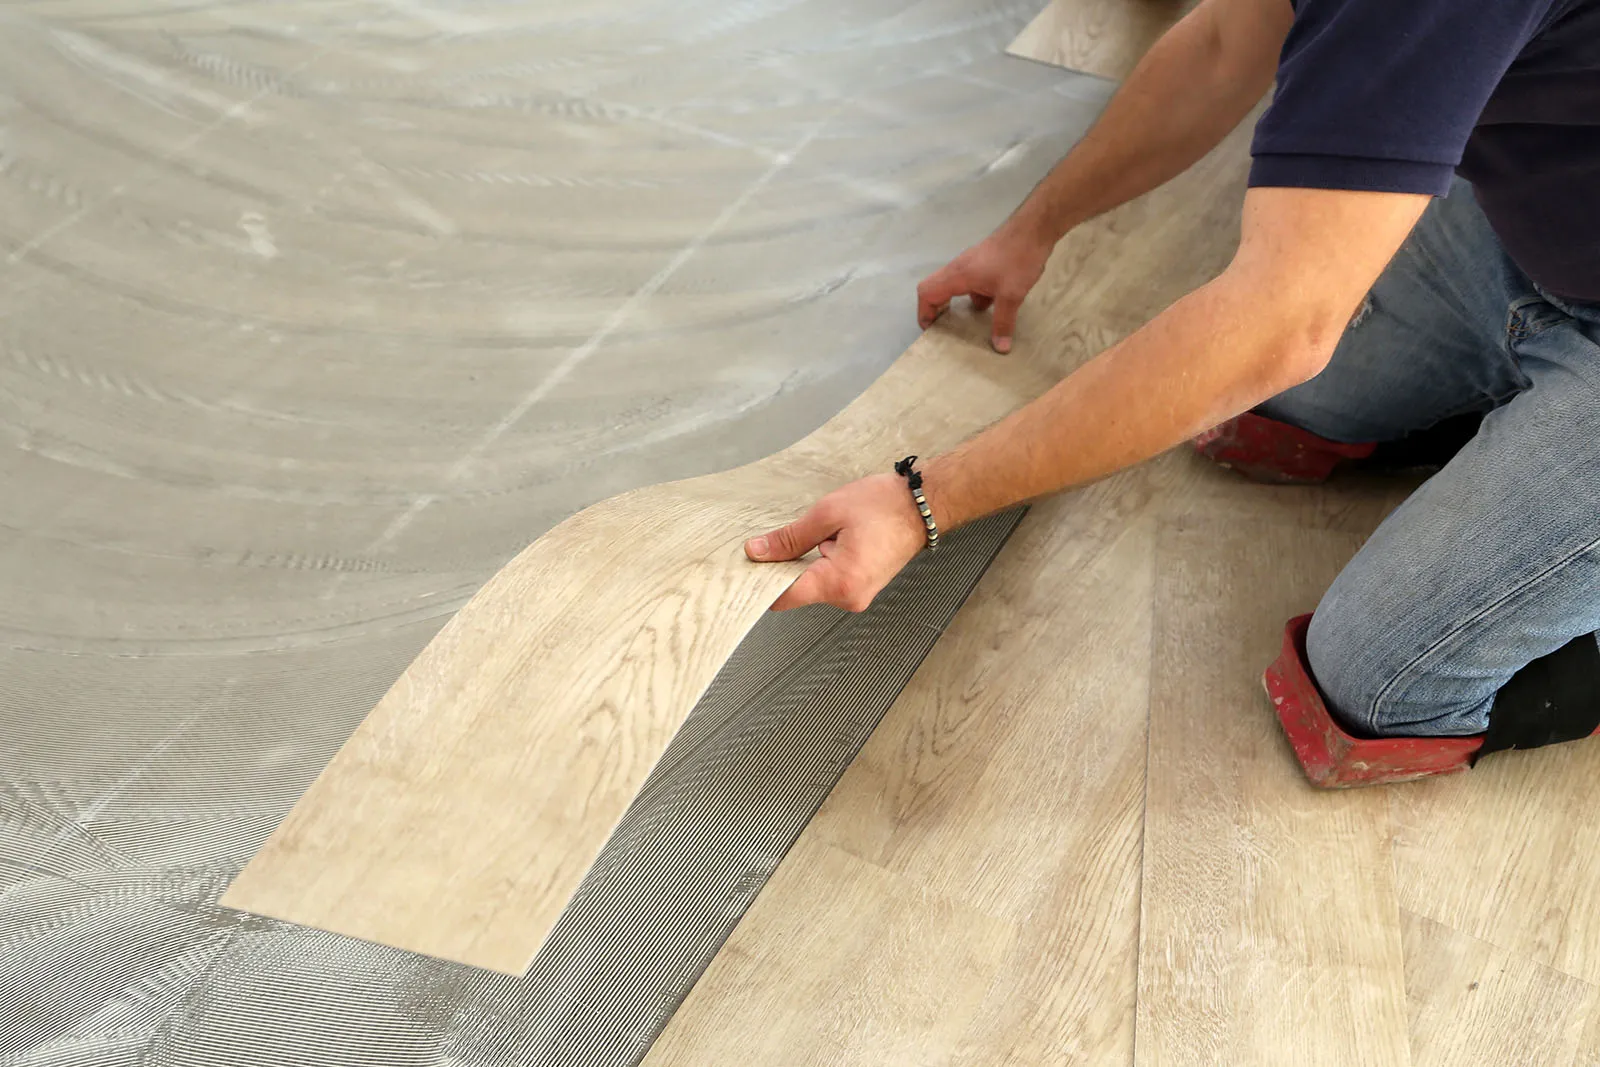
During the installation
Be prepared to be at home while the installation is taking place to answer any questions the installation crew may have. You'll also be able to assist in ensuring the correct placement of the vinyl. Because it can be difficult to estimate the complexity and length of each job, installers are not always able to give an exact arrival time; however, we will do our best to keep you updated.
Your installers will use a variety of tools and techniques during the installation that can make the work area hazardous. Therefore, it is important to keep children and pets away from the area until the job is finished.
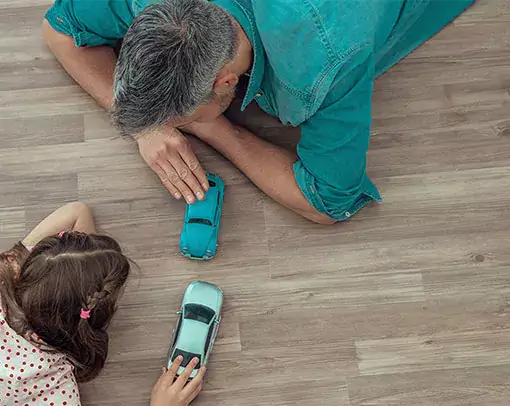
After the installation
Once the installation is complete, conduct a thorough walk-through. Doing so allows you to see the finished product, and you can ask any final questions you may have. If you are sensitive to dust and odors, keep the area well-ventilated for up to 72 hours after the vinyl is installed.
For a minimum of 24 hours after the installation, don't walk on any seams or seam sealer. You'll also need to keep the room at around 20° (68° F) or greater for at least two days afterwards to allow the adhesive to set properly.
Once you're ready to move appliances and furniture back into the room, place an underlayment (plywood or particleboard) with a minimum thickness of 3/8" on top of the new flooring. Use caution when moving heavy items so as not to damage your new flooring.
Wait at least five days before washing your flooring to make sure the adhesive is 100 percent cured.
")
Contact Us
Have questions or ready to start planning your project? Our team is here to help. Get in touch to learn more about our products, services, or showroom locations.

Free In-Home Flooring Estimate
Get a clear, accurate estimate based on your space. We’ll visit your home to take measurements, review your flooring needs, and provide pricing you can rely on.